There is nothing more frustrating than perfecting a stunning set of press on nails, only to have your index finger pop off while you’re shampooing your hair or typing an email the very next day. For years, press-on nails had a reputation for being flimsy, temporary solutions that couldn’t compete with a salon acrylic or gel manicure.
But the narrative has changed. Thanks to viral discussions on social media platforms like Reddit, beauty enthusiasts have cracked the code. The secret isn’t just buying expensive nails; it is mastering the application science.
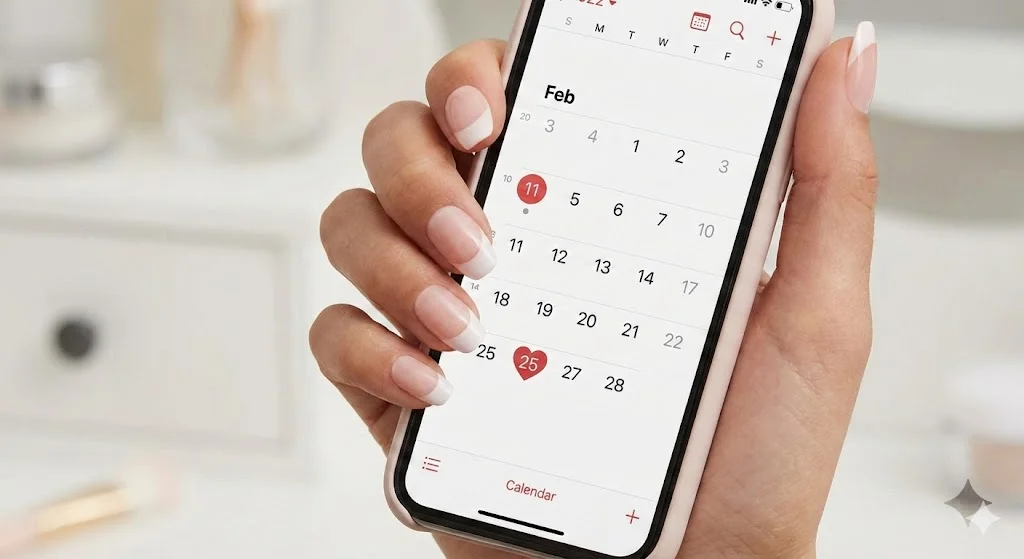
If you are tired of your manicure lifting after two days, you’ve come to the right place. From the viral “Sandwich Method” to the “Holy Grail” glues recommended by pros, here is the ultimate guide on how to make your press on nails last for two weeks—or longer.
1. The Foundation: It’s All About the Prep
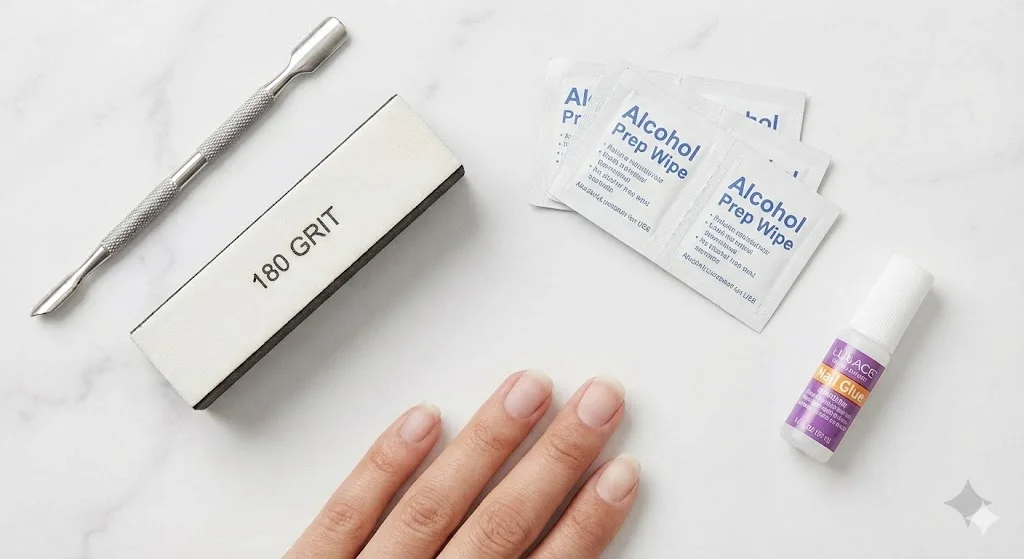
If you browse any “Nail Tech” forum, the consensus is unanimous: Prep is 80% of the battle. Even the strongest industrial glue cannot bond to a nail plate covered in invisible cuticle skin or natural oils. Before you even open your glue, follow this holy grail prep routine.
Push Back the Cuticles
Your press on nail must sit flush against your cuticle line, but never on top of the skin. If the false nail is glued to your skin, as soon as your skin produces natural oils, the nail will lift.
The Fix: Use a metal cuticle pusher or an orangewood stick to gently push back your eponychium (the living skin at the base). Scrape away the “invisible” dead skin cells on the nail plate.
Buff to create “Grit”
Press on nails need texture to grip onto. A glass-smooth natural nail is the enemy of adhesion.
The Fix: Use a 180-grit buffer block to gently buff the entire surface of your natural nail. You aren’t trying to thin the nail; you just want to remove the shine and create a rough surface area for the glue to bond with.
Pro Tip: Don’t forget to buff the underside of the press on nail itself if it is smooth plastic. This double-grit method creates a Velcro-like effect.
The Chemical Dehydrator
This is the step most people skip. Water and oil are the enemies of glue.
The Fix: Wipe your nails down thoroughly with 100% Acetone or 91% Isopropyl Alcohol. This strips the nail of natural oils and dehydrates the surface, ensuring the glue adheres directly to the keratin fibers of your nail. Do not touch your nails to your face or hair after this step.
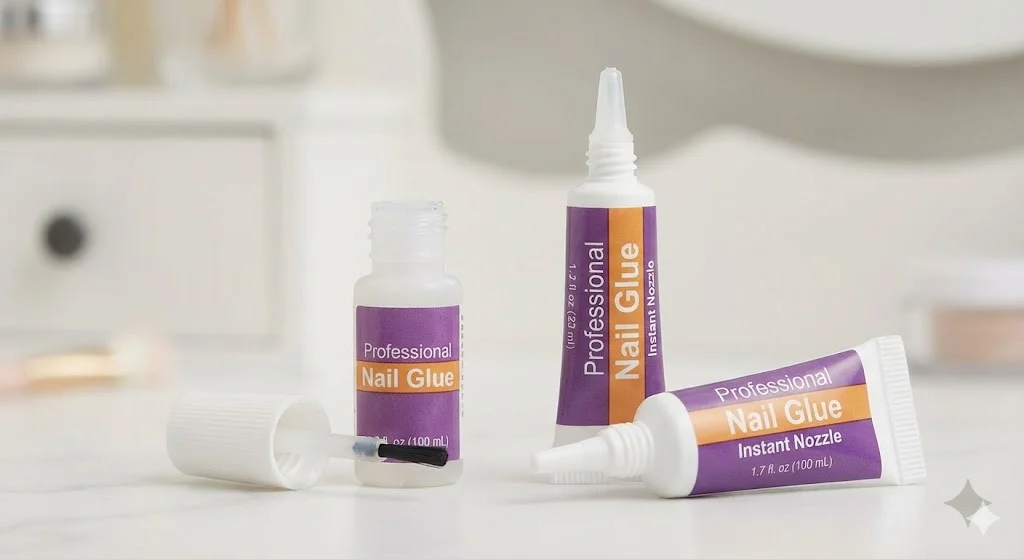
2. The Great Debate: “Holy Grail” Glues
Not all adhesives are created equal. In the Reddit beauty community, generic pink tube glues are often discarded in favor of heavy-duty performers. If you want a two-week wear time, you need to upgrade your toolkit.
The Top Contenders
- NYK1 Nail Bond: Often cited as the “Super Glue” of the beauty world, this brush-on glue is a favorite for its water-resistant properties and immense strength. It is ideal for those with active lifestyles.
- KDS Nail Glue: A staple for professional nail techs. It dries instantly and creates a rock-hard bond. It usually comes in squeeze tubes, allowing for precise control.
Brush-On vs. Squeeze Tube: Beginners should opt for brush-on glues (like NYK1 or Kiss Maximum Speed) because they apply evenly like polish, preventing air bubbles.
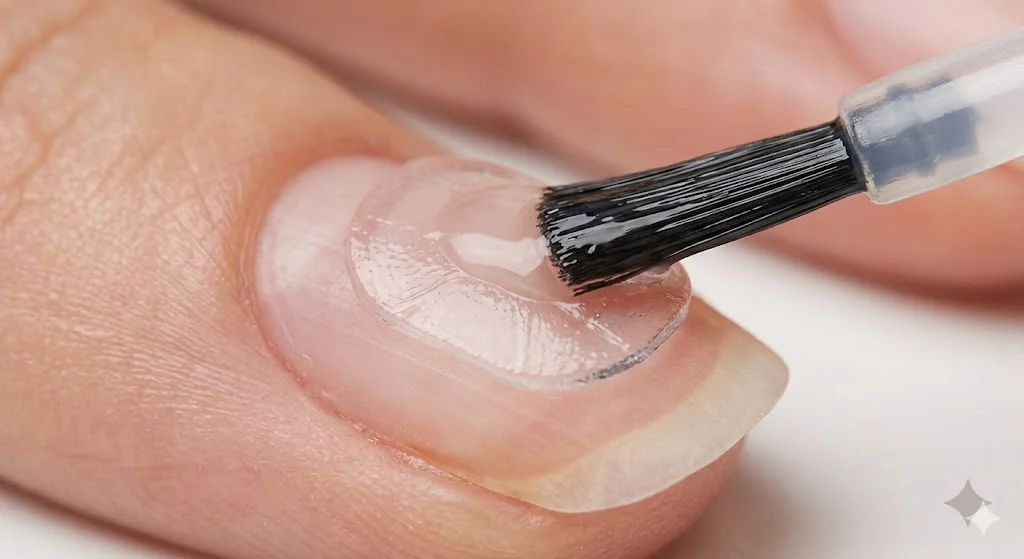
3. The Viral Hack: The “Sandwich Method”
If you have flat nail beds or simply want extra security, the Sandwich Method (also known as the Double-Sided Method) is a game-changer. This technique combines the flexibility of adhesive tabs (jelly stickers) with the strength of liquid glue.
Why It Works
Standard press on nails are curved (C-curve), but many natural nails are flat. This creates a gap where air and water can enter, leading to “pop-offs.” The sticky tab acts as a filler to bridge that gap, while the glue seals everything shut.
How to Do It:
- Apply the Sticky Tab: Place the adhesive jelly tab on your clean, prepped natural nail.
- Apply the Glue: Apply a generous coat of liquid nail glue on top of the sticky tab. Also, apply a drop of glue to the back of the press on nail.
- Press and Hold: Press the nail down. The glue fuses with the tab, creating a shock-absorbing, custom-fit seal that is incredibly difficult to break.
4. Application Technique: Banish the Air Bubbles
You have the right prep and the right glue, but your technique matters. The number one cause of nails popping off (and the dreaded “Greenie” fungus) is air bubbles trapped under the nail.
- The 45-Degree Angle: Never press the nail straight down flat. Align the base of the press on nail with your cuticle at a 45-degree angle.
- The Slow Rock: Slowly rock the nail down toward the free edge. This pushes the air out from underneath, similar to applying a screen protector to a phone.
- The 30-Second Hold: Once the nail is flat, apply firm pressure to the center and the sides for a full 30 seconds. Do not let go early. The glue needs this compression to cure.
5. Post-Application Lifestyle: “Jewels, Not Tools”
To keep your press on nails looking fresh for 14 days, you must treat them with care. The longevity of your manicure depends on how you use your hands.
The “Dry Time” Rule
Avoid water for at least 2 hours after application. This allows the glue to fully cure and harden without moisture interfering with the bond. Many enthusiasts apply their nails right before bed so they can cure overnight.
Water is the Enemy
Prolonged exposure to hot water breaks down cyanoacrylate (the main ingredient in nail glue).
The Fix: Wear gloves when washing dishes or using harsh cleaning chemicals. If you take long hot baths, keep your hands out of the water as much as possible.
Don’t Use Them as Tools
Never use your nails to open soda cans, peel off stickers, or unbuckle keyrings. This puts stress on the stress point (apex) of the nail, causing the glue bond to snap. Use your knuckles or a tool instead.
6. Sizing Matters: The Hidden Culprit
Finally, if your nails hurt or pop off within hours, the size is likely wrong.
- Too Large: If the press on nail touches your skin or sidewalls, natural oils will seep under the glue and lift the nail.
- Too Small: If you have to flatten the nail to force it to fit, the plastic will naturally want to spring back to its original curve, ripping the glue bond apart.
The Solution: Always size your press on nails before applying glue. If you are between sizes, choose the larger size and file the sides down for a custom fit.
Conclusion
Achieving a salon-quality manicure at home is entirely possible. By swapping out standard application methods for these professional techniques—specifically the rigorous prep, the use of high-quality glues like NYK1, and the innovative Sandwich Method—your press on nails can easily survive the two-week mark.
Say goodbye to the embarrassment of missing nails and hello to a durable, flawless manicure that costs a fraction of the salon price.
FAQ: Press On Nail Longevity
Q: Can I reuse press on nails after using glue?
A: Yes! If you use the Sandwich Method, removal is cleaner. If using just glue, you can use an electric file (e-file) to gently buff away dried glue from the back of the nail to reuse them.
Q: How do I remove press on nails without damage?
A: Never rip them off. Soak your hands in warm soapy water with oil (olive or cuticle oil) for 15-20 minutes. The oil breaks down the bond, allowing the nails to slide off gently.
Q: Why do my press on nails hurt?
A: This usually means the nail is too curved for your nail bed, causing a pinching sensation. Try using the Sandwich Method (sticky tab + glue) to add a cushion layer, or switch to a brand known for flatter nail beds.